It is no crime to create your own version of the trendy,
hip products from the inspiration kit using your own stash & ingenuity.
Inspiration kit:
 |
| Hip Kit Club May 2019 Main Kit |
My "The ULTIMATE counterfeit kit" this month is a complete forgery, and I hope that I can take you through the journey quickly. (I can't take credit for the alphas, lol, although I toyed with the idea of cutting some!)
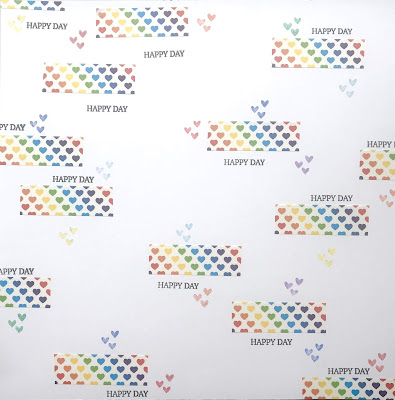
I was inspired to focus my kit forgery on florals. Most of the counterfeiting seen above involves papers - a small & large floral, digitally produced cut-apart sheet & sentiments, grunge stars, denim gingham, (tassel embellishments,) wavy paper, my version of the rainbow paper & a tiny print in rainbow colors, (embellishment sheet,) plus the mosaic paper. I made most of my papers 8" to 8-1/2" square.
Theirs:
Mine:

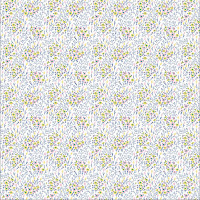
The florals were created with simple stamping & coloring. I tried out a few designs first on the larger pattern, and simply used a single rose stamp for the smaller all over pattern.
Theirs:
I was inspired to focus my kit forgery on florals. Most of the counterfeiting seen above involves papers - a small & large floral, digitally produced cut-apart sheet & sentiments, grunge stars, denim gingham, (tassel embellishments,) wavy paper, my version of the rainbow paper & a tiny print in rainbow colors, (embellishment sheet,) plus the mosaic paper. I made most of my papers 8" to 8-1/2" square.
Theirs:
Mine:

The florals were created with simple stamping & coloring. I tried out a few designs first on the larger pattern, and simply used a single rose stamp for the smaller all over pattern.
Theirs:
Mine:
I created a grid & collage on Photoshop Elements, adding sentiments on a few. The inspiration paper also had sentiments directly on the photos, but I didn't put any on as I suspected that I would be punching some of them out. I used floral words for my sentiment paper & colored with pencils.
Theirs:
Mine:
The grunge star began with a few painted strokes in all directions. After drying I punched stars in a variety of sizes. I splattered some pink paint on the background before attaching the stars. Voila!
Mine:
I used washi tape to mask off stripes in one direction & then the other. Easy-peasy!
A little tip, though. Make sure the first set of stripes is dry before you tape for the second...
Theirs:
Mine:
I decided to include eyelets instead of sequins in my kit in the true spirit of CKC stash-busting! They worked perfectly here. I simply fringed the striped paper & folded them in thirds, adding the eyelet.
Theirs:
Mine:
I made the template on the right & used it to color the pattern stripes, flipping it from back to front for each wavy shape & turning it the opposite from top to bottom for the next wave (seen under the scissors in the photo below.) I then photocopied that for a pattern to cut the solid cardstock pieces. It's a little hard to explain - sorry!
Mine:
I used an old Basic Grey 6x6" pad for some brighter pops of color.
I hope you are inspired to try your hand at your own custom version of elements from the inspiration kit. Forging is another fun way to give some love to your stash by using it up.
We always love to see your work, so please share your kits and projects with us!
You can use our Monthly Link-up page, post them in our Facebook Community,
or share them on Instagram
(we are @counterfeitkitchallenge and you can tag us using
#counterfeitkitchallenge and #ckcmay2019).


Wow! Wow! Wow! What fantastic forgeries, Leslie! You have knocked it out of the park!
ReplyDeleteLeslie these are simply wonderful forgeries. Have fun scrapping.
ReplyDelete