Thursday, March 12, 2015

031215 CKC March Challenge #2

Another challenge for Counterfeit Kit Challenge blog!

Challenge #2 Irish Challenge

I have had the pleasure & privilege to visit Ireland.
What a beautiful place, with rhododendron hedges that must have been twenty feet tall.
What we remember most fondly, though, is how friendly the people were.

Putting together this challenge page was a lot of fun!


I never confine myself solely to the contents of my kit,
just as I wouldn't if it was one I received in the mail.
I mean, I have shamrock washi! Couldn't pass that up :)


 And this little lephrechaun is on his way to me in my
Jenni Bowlin March Magpie Box as we speak.
I just used a digital stand in...


 Here is the story:


The Bazzill Basics Wayfarer "Excursionist" paper was a FAB cheater paper for this page.
All that banner work was done for me.


My take on this challenge was pretty literal, but you can probably find a much more creative way to interpret this challenge. Make sure to post your creation on the Monthly LinkUp tab at CKC!

Thanks for stopping by!


Friday, March 6, 2015

030615 CKC March Challenge #1

It's the 6th and time for the first challenge from Counterfeit Kit Challenge blog!

Challenge #1: Border Craze:  Use dies cuts, stickers, gems, stamps 
to create a border around your page!  Get creative!

I was a little afraid of this one =8~O
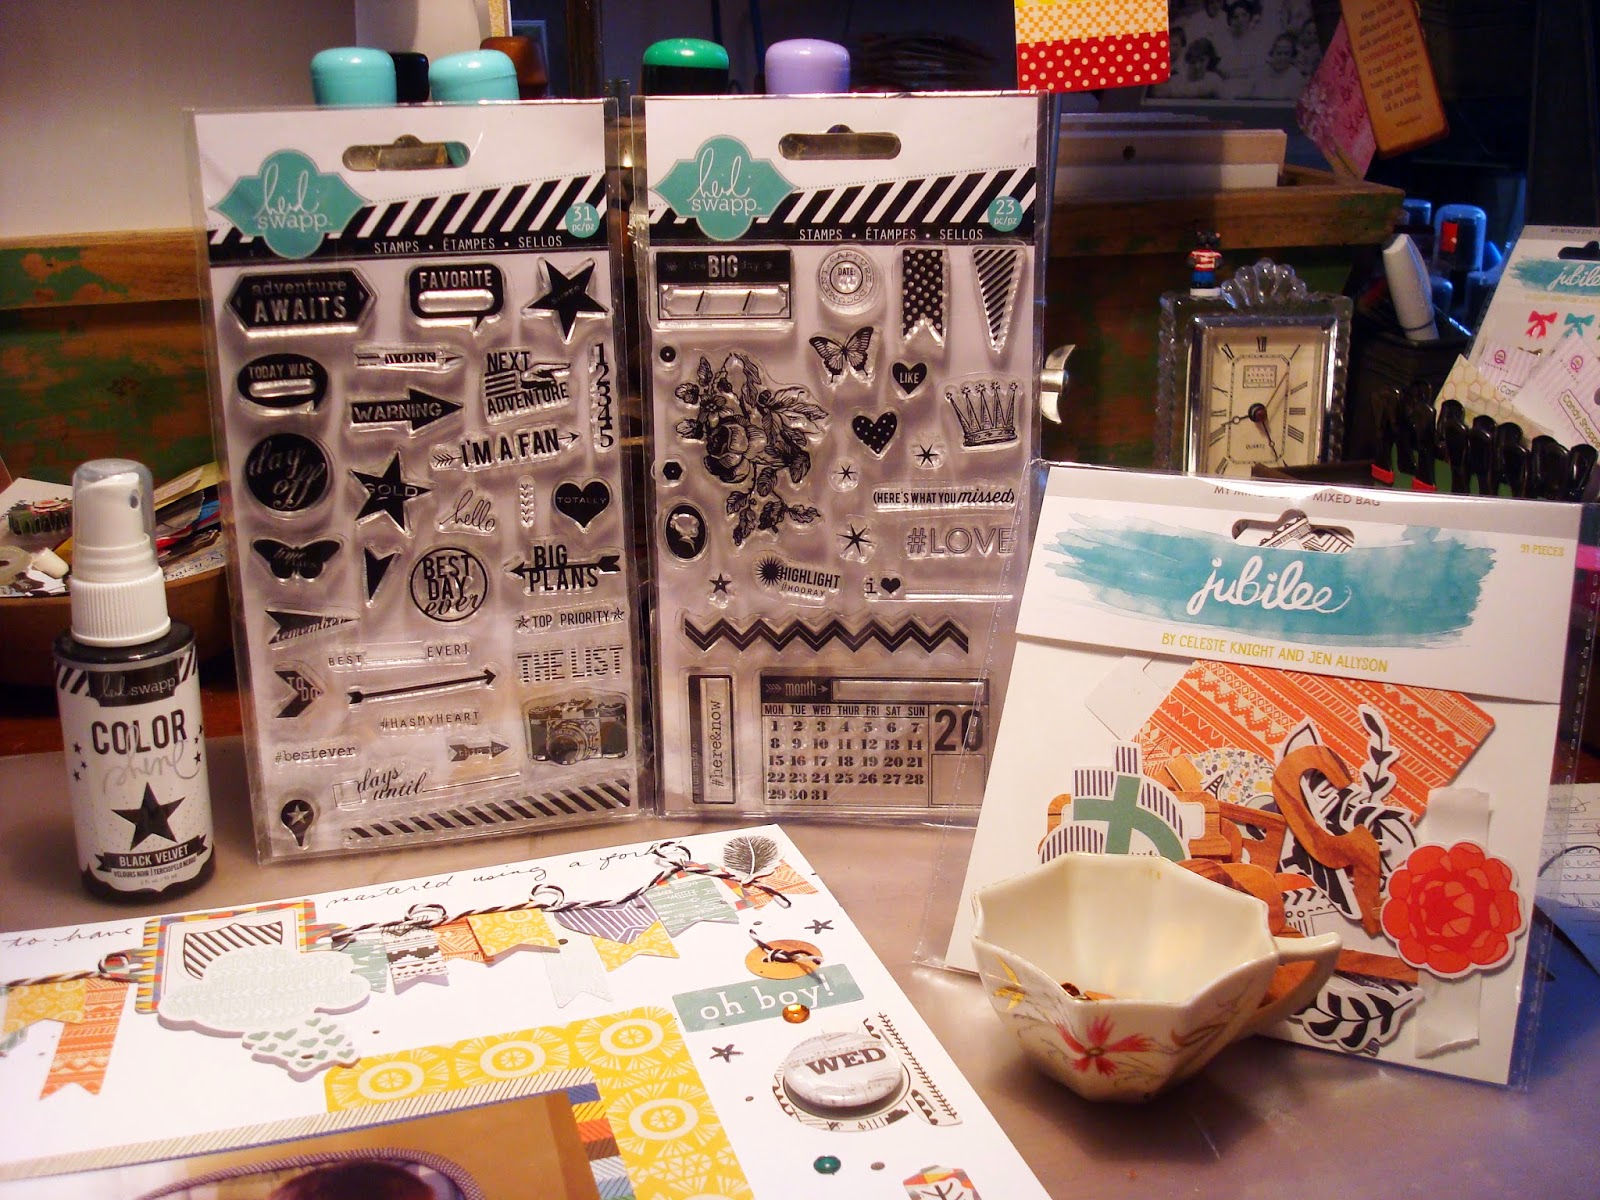
I decided to use the MME Jubilee Tangerine Mixed Bag of embellis.


Got this far but something was definitely not working so hot...
and everything but the shield, photo & mat were stuck down!

I pulled these goodies from my kit in the hopes of perking things up.


All along I had known that the Color Shine schmutz application 
would make all that white background behave. 
What I needed was a way to get the border to LOOK like a border!


Here is a close-up of those Heidi Swapp stamps. 
I keep these out on my desk to add that "little something". 
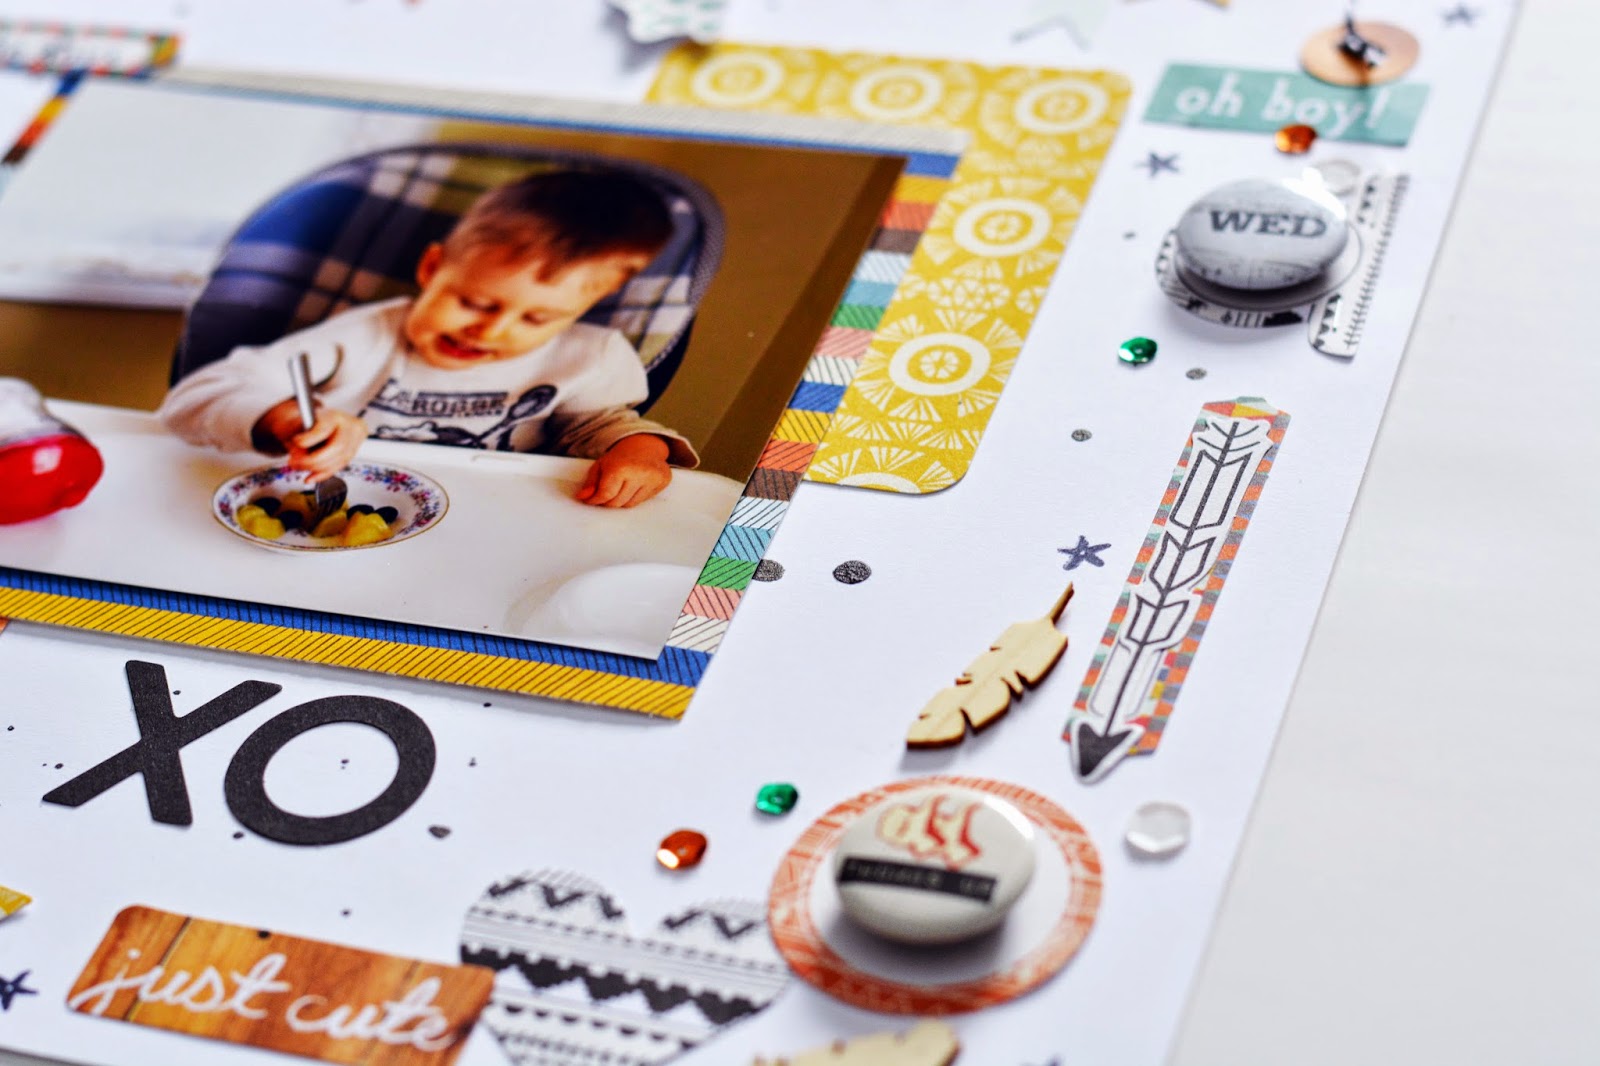
I love the extra detailing that stamping adds & it definitely helped save this page.


This piece in the banner stood out like a sore thumb until I added the tiny sentiment heart.


Even this star sequin stamp perked up my border.
 I changed out the floral elements for flair, added some twine to the banner,
a little journaling across the top & some Jubilee Project Life-style cards 
underneath the photo mat. It's all quite busy but that's how it feels with 
the boys here, so I'll pretend I did that on purpose!


Hope to see your own creation for Challenge #1 at CKC.

Thanks for stopping by!


Wednesday, March 4, 2015

030415 CKC March Tutorial

Well, this month I only had a few simple forgeries.

It's always worth sharing, though, as counterfeiting is not a mystical magical skill!
It's usually just seeing an element of the kit & thinking - 
Hey! I have those (such-and-such) that I could (do such-and-such to) and it would look just like that.

Like this sheet of kraft frames from Jillibean Soup...


I want them to look like these in the kit, also from Jillibean Soup.
(hmm... hadn't realized that until this post...)


Voila! a simple woodgrain stamp transforms those plain-Jane frames.


Now I have squirreled away this little roll of cork for many years.
(I think the only time I have used it is for forgeries, lol!)


I simply cut a strip the same width as the ruler to make it easy.
Cut two pieces, cut the corners & punched the hole.

These cork tags from the custom items in the kit are what I'm trying for.


But I'm wanting something a little more interesting.


A little stitching makes them MINE!
Fair warning, though. Cork IS tough, but be careful close to the edge.

Now take a look at this month's inspiration kit shown here:


and choose a favorite element to forge!

And don't forget to post your creations to the Monthly Link-Up tab on the CKC blog.

Thanks for stopping by!


Sunday, March 1, 2015

030115 CKC March kit reveal

Wow, is this year just flying by already?

Here we are at the Counterfeit Kit Challenge blog with another FAB kit to forge,
and welcoming another wonderful Guest Designer, Janine Rachau!
Janine has been playing along with us for awhile now & is a prolific & inspiring scrapper.


The base of the kit is the MME 6x6" Jubilee "Tangerine" paper pad.
This is my worksheet using the original for hunting/gathering my papers,
my usual staring point for creating my kit each month.


But I was uninspired... :-(
Thankfully, I discovered these Jubilee products in my stash:


Let's take a look inside the Magic Blue Box, shall we,
at my Rogue Gourmet Cake Kit?
A little nod to our kit producer, A Piece of Cake Designs!

Link HERE for the Rogue Gourmet's cake recipe!
First I pulled some realistic black & white papers.
I added the balloon motif, wood, & arrows in a nod to the original.
Grabbed a selection of 6x6" pads that tied to the color scheme.
I am determined to bust a lot of my 6x6" stash this year!


Then some bits & bobs. The wood veneers instead of the stickers, gelatos,
some bling to go with the sequins, a big fat tied-up-with-ribbon
stack of flair, and a few of Shimelle's stickers for good luck.


And here you have it! My Rogue Gourmet Cake kit.


(Pssst...anyone notice the clover playing cards? It is March, after all - wink wink!)

I never tire of putting together a forgery of the monthly Counterfeit Kit at CKC.
 My best tip for creating a counterfeit kit?
GO ROGUE!

 Make it your own - one that you will use. I frequently deviate from
the inspiration with the color scheme or overall feel of my kit.   I almost
always begin with the papers and attempt to stay true to the mix of pattern types.
All of the other bits & bobs just need to play along nicely :-)

A lot of the current trendy products are a little too geometric or graphic for me.
That said, it IS good to get out of your comfort zone a little & play with the trends...

Here's the hop. Make sure that we get to see what kit YOU put together
& scrap with this month by posting your kit & pages at the CKC blog Monthly Link!
Guest Designer Janine:  http://rachauscratchpad.blogspot.com

Julene:  http://julenebydesign.blogspot.com
YOU ARE HERE: Leslie:  http://lcsmithsaved-outofthemire.blogspot.ca
GO HERE NEXT: Lisa:  http://lisahausmann.blogspot.ca

Thanks for stopping by :-)

Sunday, February 22, 2015

022215 CKC February Challenge #2

Bethany/Counterfeit Kit Challenge blog sure comes up 
with some interesting creative challenges!

Head over & check out some of the Design Team projects, 
and check out the Mr. Linky posts labeled Challenge #2.

I got my page about 80% finished early on, 
but this is a Layout a Day month so that kind of took over!

I used my forgery of this Basic Gray paper:

 
to capture a day in the life...

...and I used a date stamp to create an hourly countdown of my day in the left hand column. Poor planning left the bottom right hand corner empty so I just kept stamping the dates until it was full.
I printed off a contact sheet of my photos & added them to some punched squares for photo mats.


 The super-large letters spelling "day" in my title were a little blah, 
so I used some background stamps to dress them up with a bit of pattern.
I love how busy & boisterous the title block is. It really represents how my days feel!


Hoping you will find a creative use for your date stamp(s)!
Looking forward to seeing it in the link-up.

Happy scrapping!

Friday, February 6, 2015

020615 CKC February Challenge #1

Time again for our first challenge of the month at the Counterfeit Kit Challenge blog!

Challenge #1:  
Use something sheer or clear on your project!
 Do you remember this forgery of mine?
 
Well, it's the obvious choice from my kit for THIS challenge!  

When I made this it was with a page about our retreat in mind. We are in an area with a fair sized Amish population & are delighted with regular glimpses of these living simple folks. 

On our way into town the last trip we followed two horse drawn wagons. At first, we couldn't make out what they were transporting, but then spotted a pair of large ice tongs on top of the load. The blocks of beautiful blue ice became discernible as we closed the distance. 
We snapped a quick shot with a smartphone for posterity.


Okay - don't laugh! That little postage stamp selfie magically appeared. I chose the little camera icon, pointed at the cart ahead, and pushed the little camera... I have begun to convince my family, especially after things like this happen, that I simply repel technology.
Back to the scrappy end of things...

I backed my vellum with an icy cool green paper from my kit. I trimmed my custom vellum down to it's original size but the page felt lopsided. I thought I could use some white cardstock with snowflakes punched out as a border on the left - kind of lacy.


 Then I worked on a little fussy cutting of the inner edge. A tryout helped me realize that my beautiful vellum's sheer quality was being squandered. Serendipity brought the idea to slip those "waste" snowflakes under the vellum! (I wish I could say that was the idea from the beginning but I've gotta keep it real.)


This is the part where I get a little stuck. 
Why would I want to cover that gorgeousness with a photo?

 Perfect :~)

 Thanks for stopping by!

Wednesday, February 4, 2015

020415 CKC February Tutorials

Our February inspiration kit 
"Across the Miles" from Scrapbook.com 
included this totally gorgeous gilded vellum:

Chic Tags World Traveler "Let's Go"
Irresistible!
I would be willing to bet you saw many of these in the DT kits.
You may have been tempted, too!

My version:


No, it's not a map! But it is gold on vellum :~)
I subbed in this paper as a combination of the map & the red cardstock.


I used these for my counterfeit:


I hadn't used a stencil adhesive before, but you can bet I'll never stencil without it again!
All of my edges were crisp & clean - no bleed-through mess & distortion of the pattern.

I used an old expired credit card to scrape the paint into the stencil & then remove the excess, like you would with modeling paste or gesso. The stencil isn't thick enough to create much relief.

Counterfeit #2 is a forgery of this paper:

Basic Grey Capture "Right Now" B side

My papers were a bit more bold than the original, so I chose the right-hand paper for my base:


Then I punched out gold paper chevrons in place of the gold triangles.
I have plans for this paper! Watch for it to make an appearance later this month.


This is one of the few months where I was able to find quite passable substitutions for most of the elements in the kit right from my stash, as is. Feels almost like I got off too easy!

I hope we have inspired you to dive in & recreate some of your favorite elements
 in the inspiration kit. Remember that we have a tutorial post each month. 
You can easily access the older posts for more ideas. 

Be sure to post your kit & projects on the Monthly Link-Up tab at the CKC blog.

Let me know you stopped in!